 Save
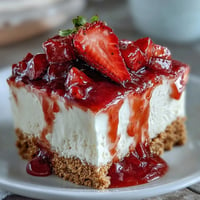
Save There's something about the smell of butter creaming with sugar that makes you feel like you're exactly where you need to be. My neighbor handed me a container of her homemade strawberry jam one summer afternoon, and I found myself thinking about all the ways to use it beyond toast. These thumbprint cookies arrived in my kitchen almost by accident, born from wanting something simple enough to make on a Tuesday but special enough to actually matter. The jam fills each little indent like a tiny treasure, and somehow they've become the cookies I'm most asked to bring places.
I made these for the first time when my daughter's school asked for something homemade for a bake sale, and I remember being nervous because the teacher made it sound serious. Standing in the kitchen watching the edges turn that perfect golden color, I realized I was nervous for nothing. When she came home and told me someone had asked who made them, I felt that small proud flutter that only happens when something turns out exactly as you hoped it would.
Ingredients
- Unsalted butter (1 cup, softened): Room temperature butter creams beautifully and gives you control over saltiness, so pull it out of the fridge at least 30 minutes ahead.
- Granulated sugar (2/3 cup): This sweetness gets tempered by the tart jam filling, so don't be tempted to add more.
- Egg yolk (1 large): Just the yolk keeps cookies tender and rich without making them too cake-like.
- Vanilla extract (1 teaspoon): Use real vanilla if you have it, though it's not a dealbreaker if you don't.
- All-purpose flour (2 1/4 cups): Measure by spooning flour into your cup and leveling it off, not by dipping the cup directly into the bag, which packs too much in.
- Salt (1/4 teaspoon): A small amount brightens everything and balances the sweetness.
- Fresh strawberries (3/4 cup, hulled and diced): Choose berries that smell fragrant and ripe, not mushy or pale, or the jam won't develop proper flavor.
- Sugar for jam (1/3 cup): This draws moisture from the berries and helps them break down into something thick and glossy.
- Lemon juice (2 teaspoons): This seems small but it's what prevents the jam from tasting one-note and sweet.
Tired of Takeout? 🥡
Get 10 meals you can make faster than delivery arrives. Seriously.
One email. No spam. Unsubscribe anytime.
Instructions
- Start your oven and jam:
- Preheat your oven to 350°F and line baking sheets with parchment paper. While it heats, combine your diced strawberries, sugar, and lemon juice in a small saucepan over medium heat. Let this bubble away, stirring now and then, until the berries look like they've surrendered into soft pieces and the whole mixture has thickened to a jam consistency, about 8 to 10 minutes.
- Cool the jam completely:
- Transfer the jam to a small bowl and set it aside to cool, which is crucial because warm jam will melt into the dough instead of staying in that perfect indent. This is a good moment to get your other ingredients ready.
- Cream butter and sugar:
- In a large bowl, beat the softened butter and sugar together until the mixture looks pale and fluffy, roughly 2 to 3 minutes with an electric mixer or about 5 minutes by hand. You'll notice the texture change from grainy to something almost cloud-like.
- Add the egg yolk and vanilla:
- Beat in the egg yolk and vanilla extract until everything is well combined and the dough looks smooth. Don't skip the beating here, as it incorporates air that helps the cookies stay tender.
- Mix in the flour:
- Gently add the flour and salt, stirring until just combined and a soft dough forms. Overmixing at this stage makes cookies tough, so stop as soon as you don't see streaks of flour anymore.
- Shape the dough:
- Scoop tablespoon-sized portions of dough and roll each one between your palms until it's a smooth ball. Arrange them on your prepared baking sheets about 2 inches apart, as they'll spread slightly during baking.
- Make the thumbprints:
- Using your thumb or the back of a small teaspoon, gently press down in the center of each ball to create an indent, being careful not to press all the way through to the bottom. Think of making a small bowl rather than a hole.
- Fill with jam:
- Spoon about half a teaspoon of cooled jam into each indent, filling it generously but not overflowing. The jam will set slightly more as the cookie bakes.
- Bake until golden:
- Bake for 13 to 15 minutes, watching until the edges turn just golden brown while the centers still look slightly soft. This is the sweet spot where they'll be tender inside but sturdy enough to hold together.
- Cool and transfer:
- Let the cookies cool on the baking sheet for about 5 minutes, then transfer them to a wire rack to cool completely. They'll firm up as they cool, and the jam will set more fully.
 Save
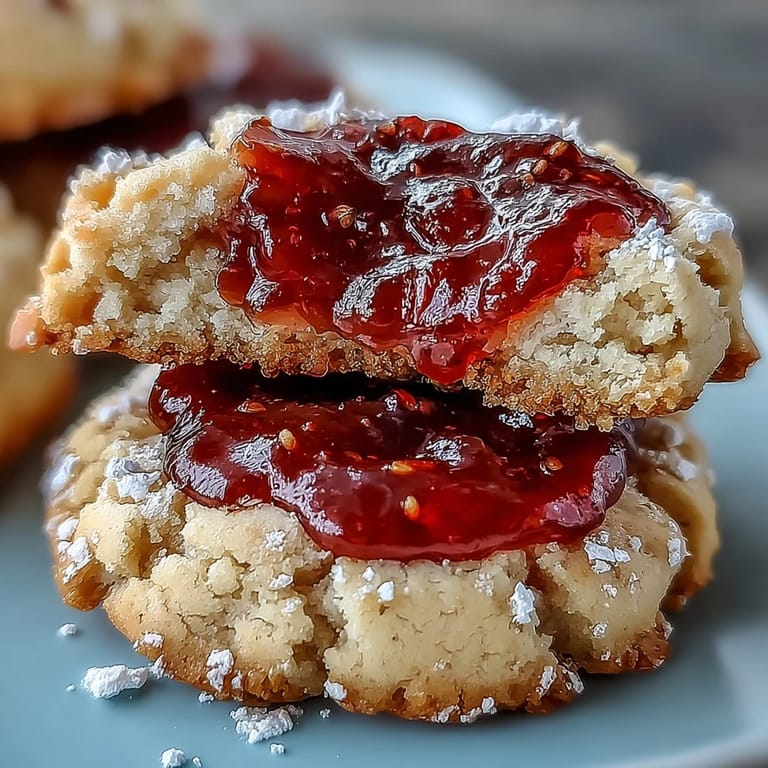
Save There was this one afternoon when I made a batch and forgot to cool the jam, and watched in real-time horror as the filling just melted into the dough, creating these accidentally jam-swirled cookies that were somehow even better than the original plan. My son declared them his favorite version ever, which taught me that sometimes the failed experiment becomes the keeper.
Choosing and Using Your Jam
If you're short on time or worried about the jam-making step, genuinely good store-bought strawberry jam works beautifully here, though the homemade version does taste brighter and more alive. I've learned that the quality of jam makes a real difference in the final bite, so if you're using purchased jam, spend the extra dollar on something with actual fruit rather than mostly corn syrup. When the jam is vibrant and tart enough to sing on its own, it transforms these cookies from nice to memorable.
Beyond Strawberry
Once you master the dough, you have permission to experiment with whatever jam calls to you. Raspberry jam creates these deep red jewels that look almost like little crowns, apricot brings a subtle warmth that feels almost autumnal, and even a good quality cherry preserves makes them feel entirely different. I've found that using jarred or homemade jam lets you play with flavor without changing a single ingredient in the cookie itself, which is the kind of creative freedom that keeps you coming back to a recipe.
Storing and Gifting Your Cookies
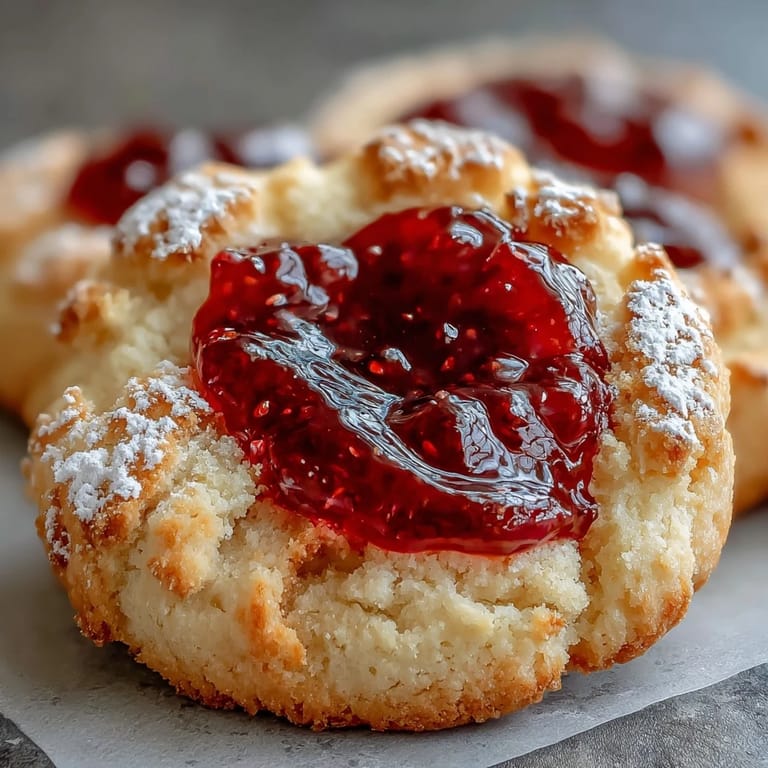
These cookies stay fresh in an airtight container for about five days, and they're sturdy enough to travel well if you're bringing them somewhere. A dusting of powdered sugar just before serving adds something elegant and hides any imperfect edges, which is the kind of small finishing touch that makes people think you're fancier than you actually are. You can also freeze the dough balls before baking and keep them for several weeks, which means fresh warm cookies are possible on almost any day.
- Layer cooled cookies between parchment paper in your storage container to prevent them from sticking together.
- For gift-giving, package them in a tin or box lined with tissue paper to make them feel special and intentional.
- If you want to bake from frozen dough, add just a minute or two to the baking time without thawing.
 Save
Save These cookies have become the thing I reach for when I want to feel capable in the kitchen without spending hours there. They're the kind of recipe that grows with you, from the first nervous batch to the versions you make without thinking.
Common Questions
- → How do I make the strawberry filling?
Combine diced fresh strawberries, sugar, and lemon juice in a saucepan. Cook over medium heat until the mixture thickens, then cool completely before filling the cookies.
- → Can I use store-bought jam instead?
Yes, high-quality store-bought strawberry jam can be used as a convenient alternative for the filling.
- → What is the best way to create the indentation in the cookies?
Use your thumb or the back of a teaspoon to gently press an indentation into each dough ball before filling with jam.
- → How long should the cookies bake?
Bake for 13 to 15 minutes, or until the edges turn a light golden color.
- → Can I swap strawberry jam for other flavors?
Yes, raspberry or apricot jam can be used instead for different flavor profiles.