 Save
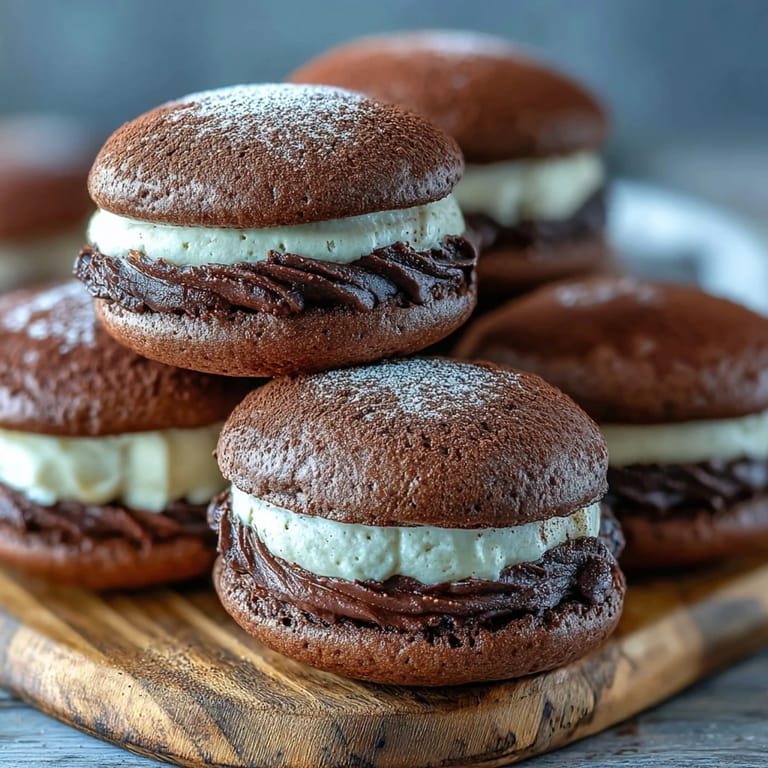
Save My hands were still shaking from the double espresso when I decided to bake these. I'd been scrolling through old photos of a trip to Rome and suddenly craved tiramisu, but in a form I could actually hold without a spoon. The kitchen smelled like cocoa and butter within minutes, and by the time the first batch came out of the oven, I knew I'd stumbled onto something worth repeating. These aren't just cookies, they're little handheld memories of coffee shops and cobblestone streets.
I brought a batch to a friend's birthday dinner once, and everyone went quiet after the first bite. Someone asked if I'd trained in pastry school. I hadn't, but I also didn't correct them right away. The truth is, these whoopie pies just have that effect, they make you look like you know exactly what you're doing, even if you're winging it. By the end of the night, three people had asked for the recipe, and I wrote it on napkins because I didn't have my phone.
Ingredients
- All-purpose flour: The structure of the cookies depends on this, measure it properly by spooning it into the cup and leveling off, never pack it down.
- Unsweetened cocoa powder: Use Dutch-process if you want a smoother, less acidic flavor, but natural cocoa works beautifully too and gives a slight tang.
- Baking powder and baking soda: These two together create the perfect soft, cake-like texture that makes whoopie pies so different from regular cookies.
- Unsalted butter: Softened to room temperature is key, it should leave a slight indent when pressed but not be greasy or melted.
- Granulated sugar: Creaming this with the butter creates air pockets that keep the cookies light and tender.
- Whole milk: The fat content matters here, skim milk will make the cookies drier and less rich.
- Mascarpone cheese: This is the heart of the filling, it must be cold and fresh, check the expiration date because old mascarpone can taste sour.
- Heavy cream: Whips into the mascarpone to create that cloud-like texture, make sure it's straight from the fridge.
- Instant espresso powder: Dissolving it in hot water first prevents grainy bits in the filling, a trick I learned after one gritty batch.
- Powdered sugar: Sift it to avoid lumps in the filling, those little clumps never dissolve no matter how much you beat.
Tired of Takeout? 🥡
Get 10 meals you can make faster than delivery arrives. Seriously.
One email. No spam. Unsubscribe anytime.
Instructions
- Prep Your Oven and Pans:
- Preheat to 350°F and line two baking sheets with parchment, not wax paper, which will smoke. Give yourself a clean workspace because this batter is sticky and you'll want room to scoop.
- Mix the Dry Ingredients:
- Whisk together flour, cocoa, baking powder, baking soda, and salt in a medium bowl until no streaks of cocoa remain. This step prevents uneven chocolate flavor in the finished cookies.
- Cream Butter and Sugar:
- Beat softened butter and sugar in a large bowl for about 3 minutes until the mixture looks pale and fluffy, this is where the airiness begins. Scrape down the sides halfway through so nothing hides at the bottom.
- Add Egg and Vanilla:
- Beat in the egg and vanilla until fully incorporated, the mixture might look slightly curdled but that's normal. Don't worry, it will come together when you add the dry ingredients.
- Alternate Dry and Wet:
- Add the flour mixture in three parts, alternating with the milk in two parts, starting and ending with flour. Mix just until combined after each addition, overmixing makes tough cookies instead of tender ones.
- Scoop and Space:
- Use a medium cookie scoop or heaping tablespoon to drop 24 mounds onto your prepared sheets, leaving about 2 inches between each. They'll spread just a little, so don't crowd them or they'll bake into one giant cookie.
- Bake Until Set:
- Bake for 10 to 12 minutes, checking at 10, the tops should spring back when lightly touched and look matte, not shiny. Let them cool on the pans for 5 minutes before moving to a wire rack, they're fragile when hot.
- Dissolve the Espresso:
- Stir instant espresso powder into hot water until completely dissolved, then set aside to cool while you prep the rest. If you add it hot, it will melt the mascarpone and ruin the texture.
- Whip the Filling:
- Beat mascarpone, cold heavy cream, and sifted powdered sugar together until smooth and thick, watching carefully because overbeating turns it grainy. Gently fold in the cooled espresso and vanilla, then chill for 20 minutes if it seems too soft to spread.
- Assemble the Pies:
- Match up cookies by size so they look neat, then spread or pipe a generous dollop of filling onto the flat side of half the cookies. Press the remaining cookies gently on top to make sandwiches, don't squish or the filling will ooze out the sides.
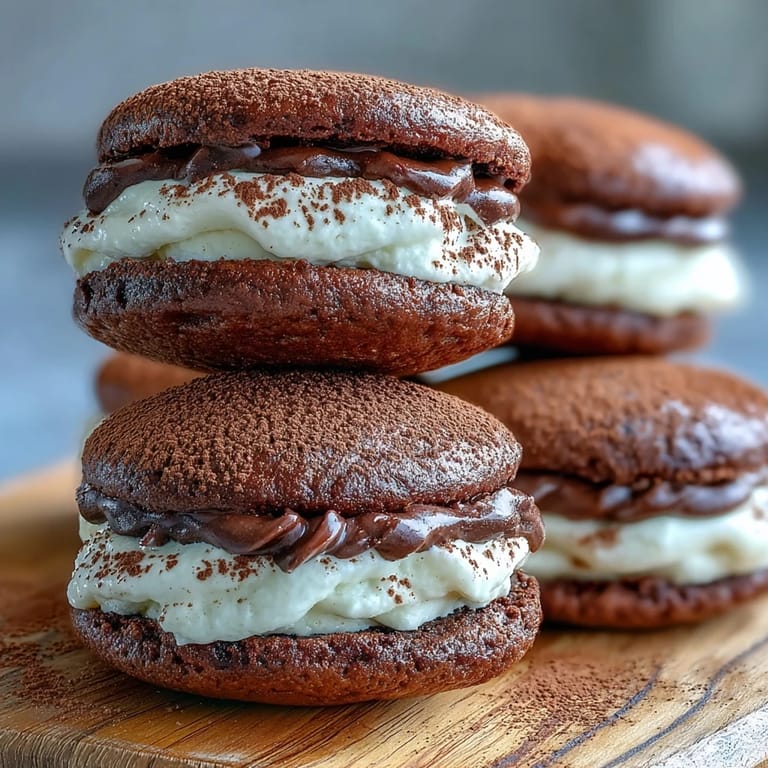
- Dust and Chill:
- Use a fine sieve to dust the tops with unsweetened cocoa powder for that classic tiramisu look. Refrigerate the assembled pies for at least 30 minutes before serving so the filling firms up and the flavors meld together.
 Save
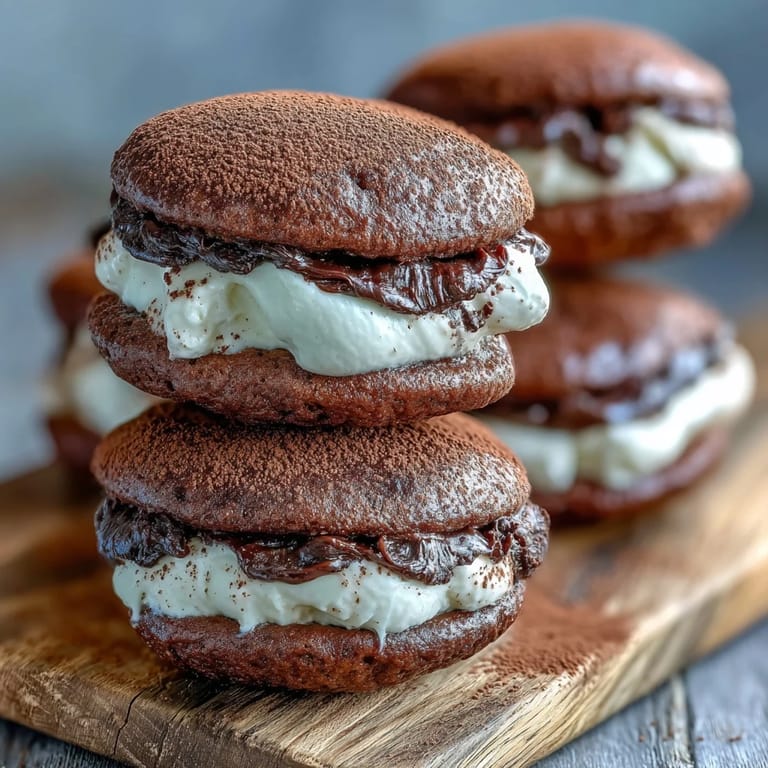
Save The first time I packed these for a picnic, I wrapped them individually in wax paper and stacked them in a tin. By the time we spread the blanket under the trees, they'd chilled just enough to feel like a fancy bakery treat. My friend took a bite, closed her eyes, and said it tasted like sitting in a cafe in Milan, even though neither of us had ever been. That's the magic of these little pies, they take you somewhere else without leaving your kitchen.
How to Store and Serve
Keep these in an airtight container in the refrigerator for up to two days, any longer and the cookies start to absorb moisture from the filling. If you're making them ahead for a party, bake the cookies the night before and store them at room temperature, then whip up the filling and assemble them the morning of. Let them sit at room temperature for about 10 minutes before serving if you want the filling to soften slightly, straight from the fridge they're firmer and more structured. I've also frozen the unfilled cookies for up to a month, thaw them completely before filling and they taste just as fresh.
Variations Worth Trying
For a boozy version, stir a tablespoon of coffee liqueur into the mascarpone filling, it adds a subtle warmth that makes these feel even more grown-up. If you can't find mascarpone, cream cheese works in a pinch, but beat it longer to get it smooth and expect a tangier, less delicate flavor. I've also made these with half whole wheat flour for a slightly nuttier taste, though they come out a bit denser. One friend swears by adding a pinch of cinnamon to the cocoa batter, and I have to admit it's a cozy twist that works surprisingly well.
What to Serve Alongside
These whoopie pies shine on their own, but a small cup of espresso or a latte makes the coffee flavor sing even louder. I've served them with fresh berries on the side, the tartness of raspberries or strawberries cuts through the richness beautifully. If you're making them for a party, set out a bowl of whipped cream for people to add an extra dollop, it feels indulgent and guests love the option. For a full dessert spread, pair them with biscotti or a simple vanilla panna cotta, the contrast in textures makes everything more interesting.
- A hot espresso or cappuccino brings out every layer of coffee flavor in the filling.
- Fresh raspberries or sliced strawberries add a bright, tart contrast to the rich chocolate and cream.
- Serve them on a platter dusted with extra cocoa powder for a bakery-style presentation that takes zero extra effort.
 Save
Save Every time I make these, I remember that shaky, espresso-fueled afternoon when I threw the idea together on a whim. They've become my go-to when I want to impress without stressing, and I hope they do the same for you.
Common Questions
- → Can I make these whoopie pies ahead of time?
Yes, you can bake the chocolate cookies up to one day ahead and store them in an airtight container. Prepare the filling and assemble them a few hours before serving for best results. Fully assembled whoopie pies keep well refrigerated for up to 2 days.
- → What can I substitute for mascarpone cheese?
Cream cheese can replace mascarpone, though the flavor will be tangier and less authentic to tiramisu. For a closer match, blend cream cheese with a small amount of heavy cream or sour cream to achieve a smoother, milder texture.
- → How do I prevent the filling from being too runny?
Make sure both the mascarpone and heavy cream are well chilled before beating. Avoid overbeating the mixture, which can cause it to separate. If the filling seems too soft, refrigerate it for 20-30 minutes before assembling the whoopie pies.
- → Can I freeze tiramisu whoopie pies?
While you can freeze the unfilled chocolate cookies for up to one month, it's not recommended to freeze the assembled whoopie pies as the mascarpone filling doesn't freeze well and may become grainy when thawed.
- → How can I make the espresso flavor stronger?
Increase the instant espresso powder to 1.5 or 2 tablespoons in the filling. You can also brush the flat sides of the cookies with a little cooled espresso before adding the filling, just like traditional tiramisu layers.
- → Why are my whoopie pie cookies flat or spreading too much?
Ensure your butter is softened but not melted, and don't overmix the batter. If your kitchen is warm, chill the batter for 15 minutes before scooping. Also verify that your baking powder and baking soda are fresh for proper rise.